That's right, I have a new craft these days and it's called Kumihimo. This is a technique from Japan for making braids. I believe the Japanese traditionally used silk for their braids.
Last year (or was it the year before?) I stopped by a vendor at Stitches West that was selling Kumihimo supplies. I wasn't ready to jump into braids at that time, but I did buy some cord for some of my other beading projects. Well, I guess my time is now because I recently purchased 2 Kumihimo disks--a round one for round braids and a square one for flat braids--some seed beads, and a clasp.
Armed with supplies and a YouTube video, I learned how to make a simple 8-warp beaded spiral.
I didn't have all the supplies I needed, so I improvised and used corks for bobbins.
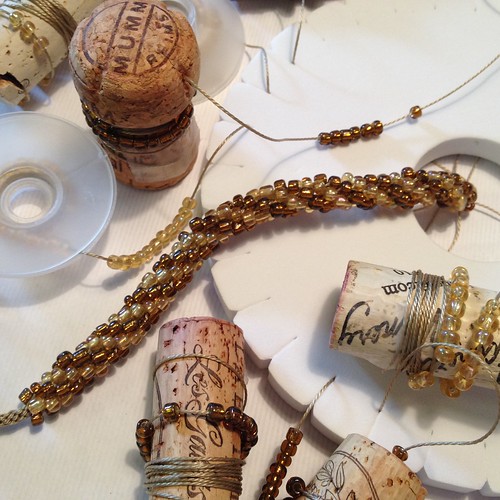 Kumihimo
Et voila, here is the necklace:
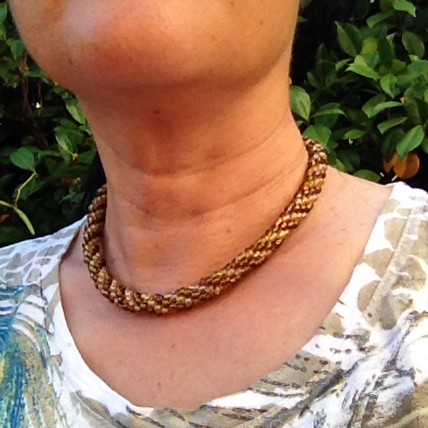 Kumihimo necklace
The square loom came with some sample cord, so I used all of it to make this non-beaded braid:
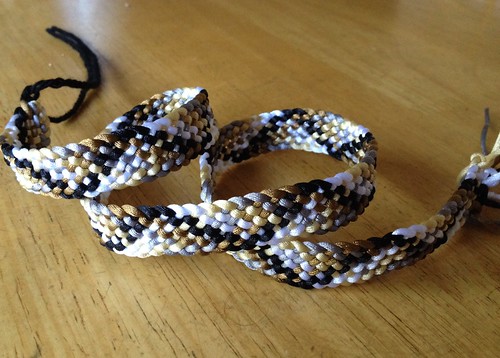 Kumihimo braid
At this point, I wanted to buy more clasps--I had only bought one and used it for the necklace--and some proper bobbins. Armed with the current week's coupons, I went to my local craft store and found... nothing. All the pegs with labels for Kumihimo clasps and bobbins were empty. Foiled!
I turned to the internet, found
Primitive Originals, and liked what they had to offer. I bought some satin cord, an assortment of clasps, and a set of bobbins. Now we're talkin'.
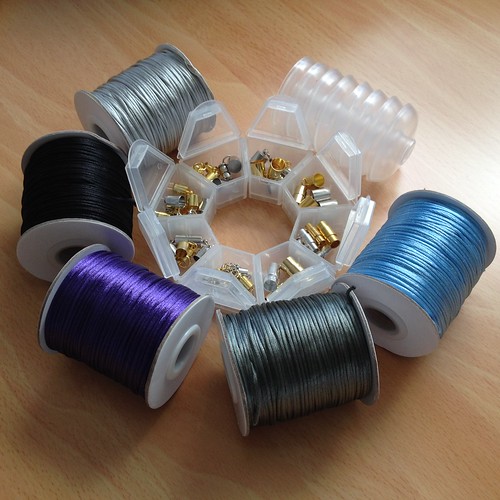 Kumihimo supplies
For my next project, I wanted to make a bracelet and necklace using these beads.
 Beads for Kumihimo
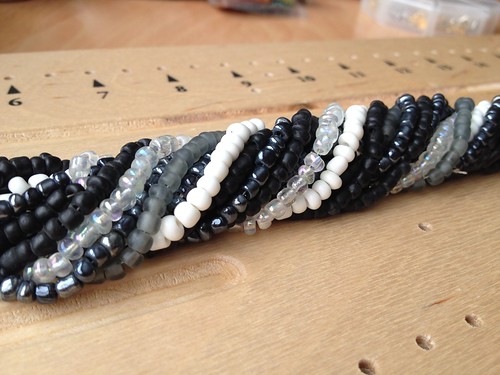
I thought I'd go with a random pattern so I took all ten 16" strands of beads and mixed them up in a bowl, then strung them on 8 warp cords. Well, the result wasn't what I had envisioned. I wasn't sure I liked it and when I solicited opinions from home and my friends, they pretty much said the same thing. It wasn't great. It wasn't horrible, but it wasn't great.
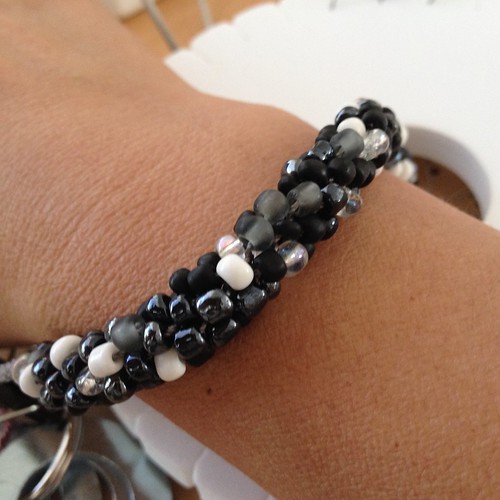 Trying out a random pattern
I un-wove about 7 inches of braid and separated all of the beads so I could plan a pattern. That took forever. As I looked at the braid, I thought I understood how the braid worked, how beads were placed and in what order, so I strung beads on the warp threads again, but this time just 6 inches of beads on each so I could start weaving sooner.
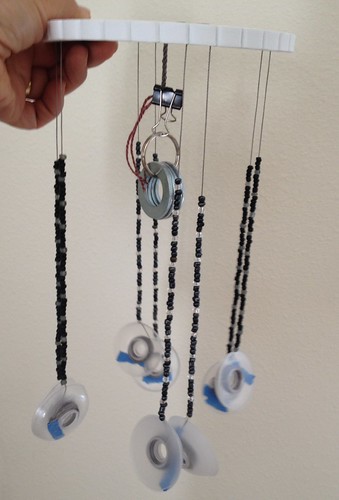 Starting a not-so-random pattern
It turns out that it was a very good thing that I only put a few inches of beads on each warp thread because I was completely wrong about how the beads would be placed in the braid. I didn't take a photo of the braid because it didn't survive long. I used it to record how the warp threads and beads made up the braid, then dismantled it. I transferred my notes into a spreadsheet and figured out how to implement the design I had in mind.
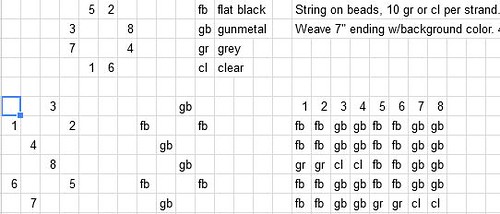 Kumihimo Worksheet
With my crazy chart, I restrung the beads and started attempt #3. Did it turn out the way I planned? You bet it did. Here is the bracelet.
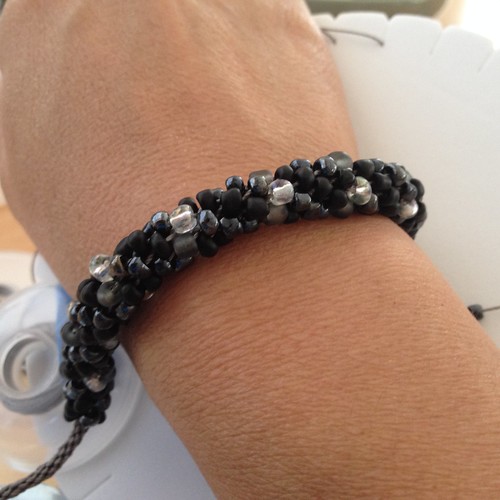 New design
It may not be obvious, but there are 2 columns of 4 black beads and a grey bead and 2 columns of 4 gunmetal beads and an iridescent clear bead. These alternating columns spiral around each other, with the grey & clear beads occurring in the same "round" in the braid. That's probably too much information because it's the overall non-random effect that I was going for and I'm very pleased with the result. I finished it off with a magnetic locking clasp from the assortment I purchased from
Primitive Originals.
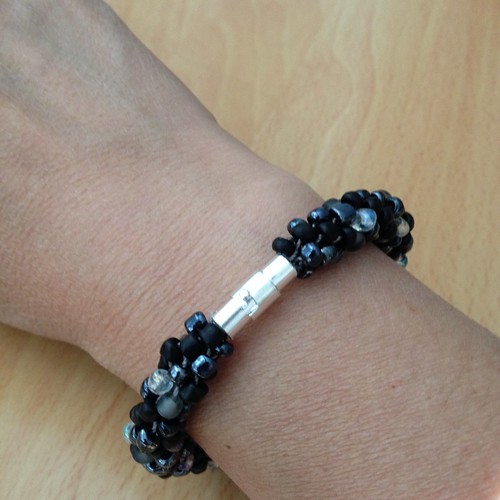 Kumihimo bracelet clasp
I still have plenty of warp remaining for the necklace and now I know how to replicate the pattern and how many beads I'll need. I'm very happy with the braids so far, but I'm happier about what I learned with this bracelent--
- How to un-weave a braid.
- How to remove a braid from the disk and put it back on with the warp threads in the proper order.
- How to design and chart a beaded Kumihimo braid.
That last point needs a disclaimer because I have no idea how Kumihimo designs are charted. Rather, I created my own design and chart style, so although it may be non-standard, I understand it and can follow it. Perhaps some day I'll buy a book or do some research and find out how others do it.
Labels: beading, beads, bracelet, braid, design, kumihimo