Knit Flix

Wednesday, July 09, 2014

Gamp warp

The next chapter in the story about the G-A-M-P, Gamp is about warping the loom.

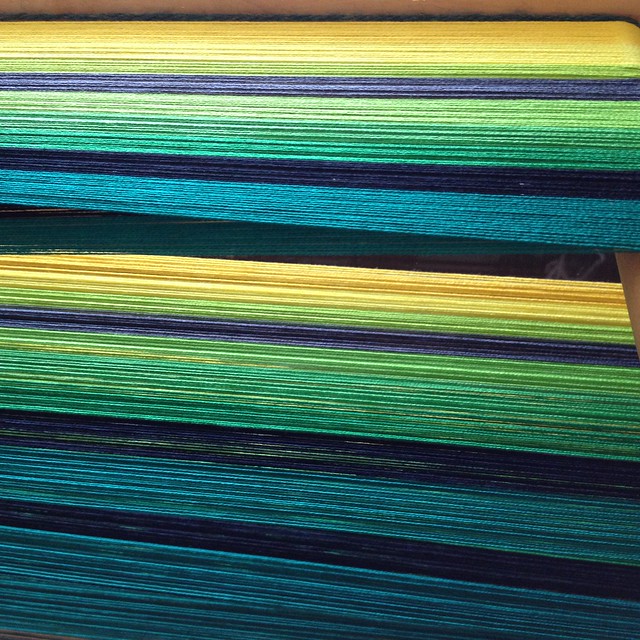
The warp was 5 yards long with 34 ends of each of the 27 colors plus 2 ends at each outer edge for floating selvedges. Let's see... ((27 colors * 34 ends) + 4 floating selvedge ends) * 5 yards = 2.6 miles. Well, that's a good amount of yarn, isn't it? But someone once explained to me that the warp is 1/2 of the project, so once you get the loom dressed, you're 50% finished. That always makes the task sound better to me.
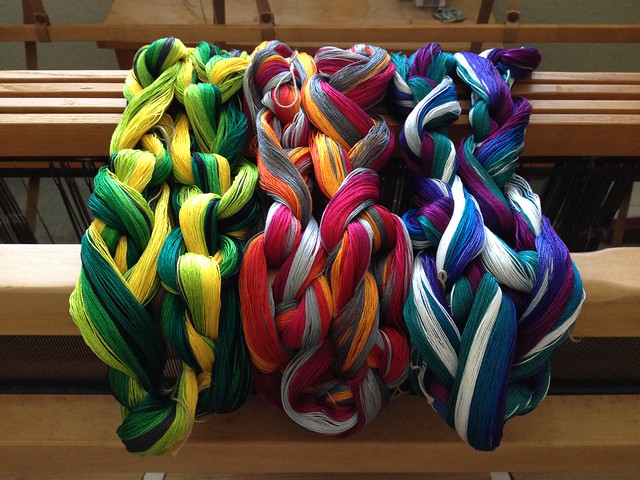

If only it was this easy

I warped the loom from Front to Back using Madelyn van der Hoogt’s instructional video, Warping Your Loom. I find this technique works well for me and it will continue to be my primary method, at least until I get or make a raddle. So I started out with sleying the reed. Looking at the time stamps of these photos, this took me 2 days. Granted this was over Memorial Day weekend so I had another day off to do the mundane household chores, otherwise the elapsed time would have been at least a week.
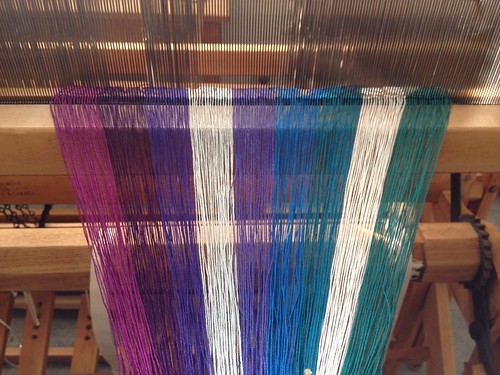

1/3 sleyed
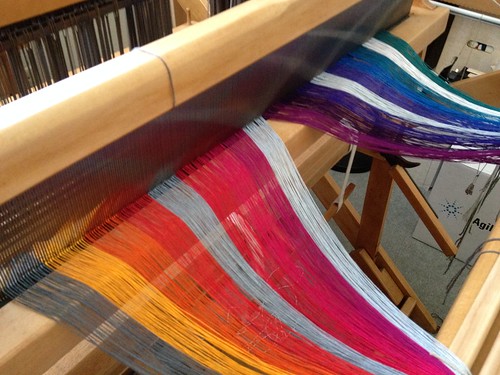

2/3 sleyed
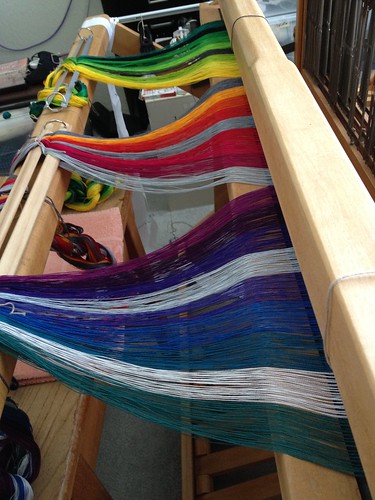

922 ends sleyed

After 2 days of getting all those pesky ends through the reed (12dpi, 2 ends per dent for the weavers in the crowd), it was time to figure out how many heddles I had and make sure I had enough on each frame. I probably should have done that earlier because in the event that I didn't have enough, I would have had to order more. Well, it turned out that I had enough heddles with a few to spare. I redistributed the heddles on the loom so I wouldn't run out on any of the frames and threaded the heddles. I divided each color into 4 groups with 8, 9, 8, and 9 ends each. Each group was double checked for threading errors and then it was knotted.

Again, checking the time stamp of the photo I see that the time elapsed from when I sleyed the reed to when the heddles were threaded was just 1 week. That surprises me, I thought it took longer.
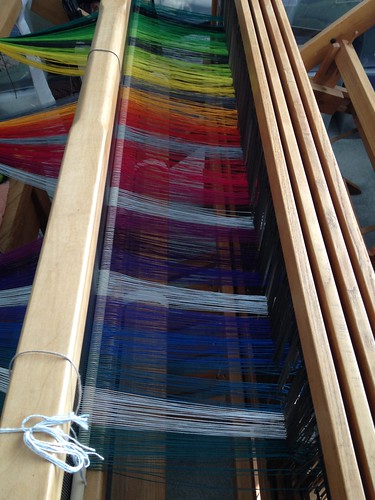

Color gamp warp

The next step was to tie the ends to the back apron rod and do what's called crank & yank. Funny, huh? You basically turn a crank which pulls the warp threads through the heddles and the reed and winds it onto the back warp beam. It's a slow process because you crank a little bit, then come back to the front and pull on groups of warp threads to even out the tension (yank). After most of the 5 yards is wound onto the back of the loom, the free ends are tied onto the front apron rod.
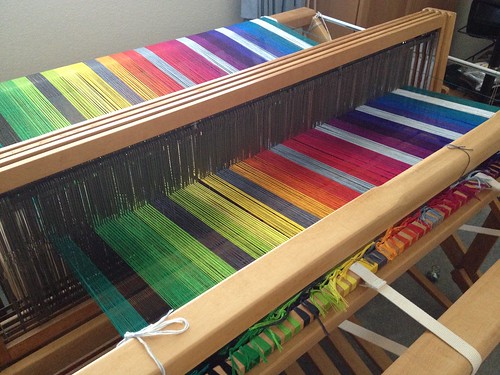

Color gamp warp

Now the loom is dressed and weaving can begin! Actually I consider all of the above weaving, but you know what I'm saying. Once you start weaving cloth, the pattern is visible and you can see if there are mistakes in the warp that need to be fixed. But that's why I checked every group of 8 or 9 warp threads to make absolutely positively sure that there wouldn't be any issues and I could start weaving right away. Well, it didn't turn out that way.

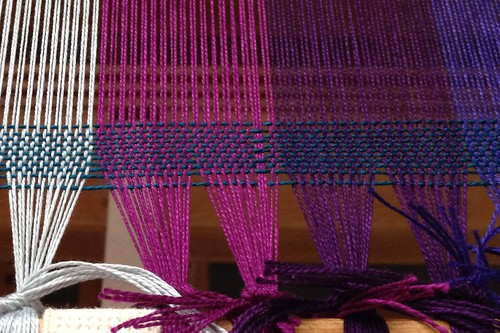
I started with some tabby weave or in other words, just some plain over-under weaving. In the picture below, you can see where there is a threading mistake. There's a group of 3 magenta warp threads that are moving together. What should be happening is the thread in the middle of the group of three should be moving up when the outer two move down, and down when the other 2 move up.

0.1%

It wasn't a huge mistake and it was the only one I found in 922 threads, so that was actually pretty good. Basically, I mistakenly threaded the middle warp thread through a heddle on the wrong frame. To fix it, I had to untie that group of magenta threads from the front apron rod and rethread that one thread through a heddle on the correct frame. The only problem with that was I didn't have a heddle in that position on that frame. Madelyn van der Hoogt to the rescue! In her video, Weaving Well, Madelyn describes how to make a heddle out of string for just this purpose. Done and done.

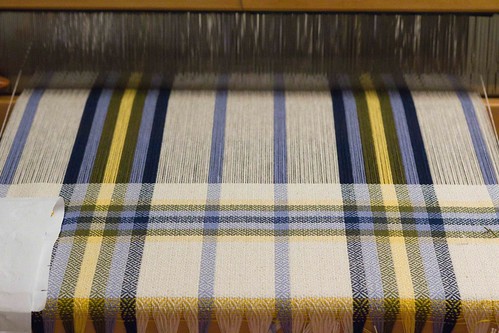
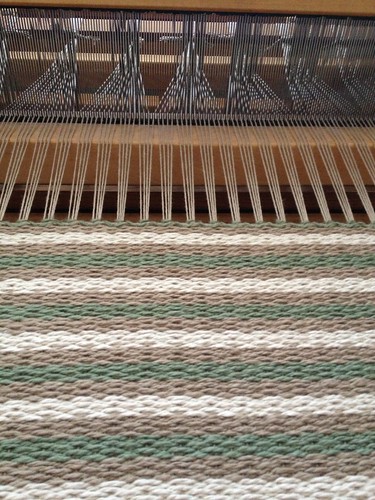
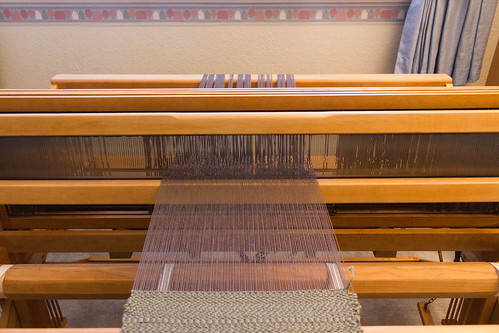
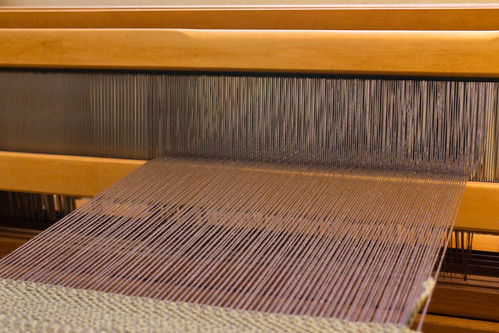
Here's the fixed warp, the plain weave with hemstitching in blue, and the first color stripe woven in point twill in teal.


Color gamp

I'm finding that getting the right number of picks per inch (density of weft threads) is tricky. If I beat the weft too hard, the weft threads are too close together and the squares of color end up being short fat rectangles. If I don't beat hard enough, the squares end up as tall rectangles. So getting that just right AND having neat selvedges (edges) is my challenge now. I'll weave a color stripe find a number of things wrong with it, then I'll unweave and reweave it. Having a critical eye can be a pain, but some of the issues I've fixed are things I would notice forevermore, so for me it's better to take the time to rework them. With that, you don't need to leave any comments about galloping horses.
Labels: , , , , ,

Sunday, June 29, 2014

She's just a G-A-M-P, GAMP!

Choosing colors for weaving is a challenge for me. Contrast, value, saturation, and hue are terms that I've learned about in various color classes, but there's a certain level of anxiety, fear, and uncertainty that grips me when I need to make my own choices. Perhaps that's why I appreciate kits for stranded and Fair Isle knitting, the work is already done for me.

When I started weaving, I ran across the term "gamp" over and over again. A gamp is a woven piece of fabric that illustrates what happens when different weave structures, yarns/fibers, colors, etc., intersect. So a color gamp is a reference piece that shows what different colors look like when they are woven in a fabric. Michele Belson and Katzy Luhring from Lunatic Fringe Yarns go into detail about color gamps in this Weavezine article.

Think of your color printer--you have only 4 ink cartridges: yellow, magenta, cyan, and black. But somehow the combination of those colors on the printed page can produce seemingly endless number of colors. What color we see depends on how much of each ink is used and how it is placed (in what pattern). It's pretty amazing when you think about how we perceive color.

Anyway, back to weaving. The color gamps I found online have warps of uniform stripes in different colors. Then the weft is woven in stripes of the same colors, in the same order. So every color in the warp will intersect with every color in the weft and the blocks along a diagonal will be solid blocks of color, where the warp and weft colors are the same. With this fabric, you'll be able to see what purple warp and yellow weft look like together. It may or may not sound like a good combination, but the color gamp will show you. Another consideration for a color gamp is the weave structure. That purple warp and yellow weft block will look different in a plain weave, a twill, or an overshot pattern. So weaving a color gamp in different weave structures would be a good idea.

It sounds like a lot of work for a color/weave structure reference, doesn't it? But I don't consider weaving with beautiful yarn to be work... but it is a lot of effort and time. That's okay, I'm learning and discovering as I go and besides that, the fabric is quite beautiful. All in all, weaving can be a very rewarding experience.

I went to the Conference of Northern California Handweavers in Oakland this year and headed straight to Lunatic Fringe Yarns booth. They have color gamp kits available on their web site and I wanted to see samples of the woven gamps in person before making the investment. Well, the gamps were really beautiful and I was able to see them in thicker and thinner cotton and also talk to them about the color gamp kit vs. the color gamp kit plus white, black, and shades of gray. All in all, I felt much better about seeing the product in person first and actually bought the Tubular Spectrum Plus Kit--spectrum colors plus white, black, and shades of gray.

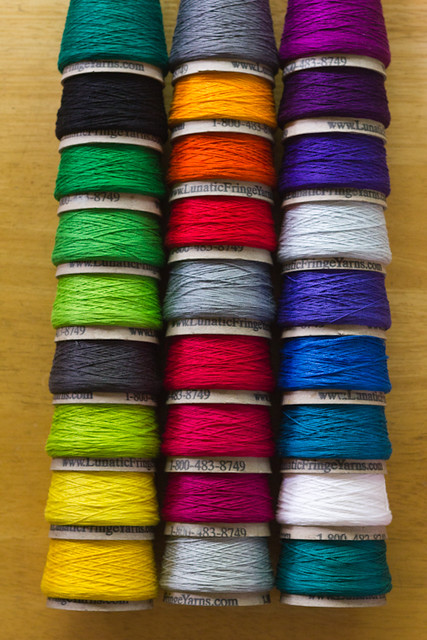
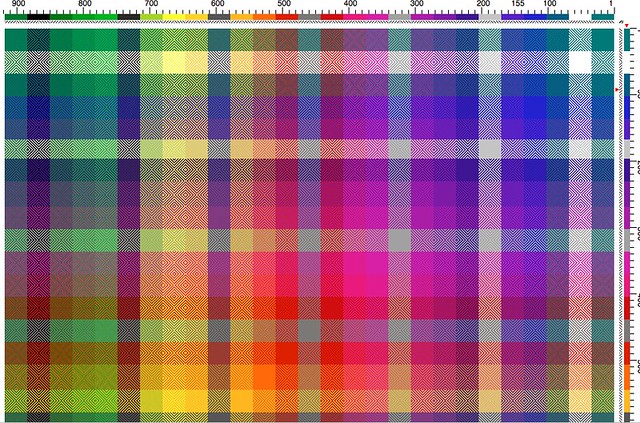
The kit came with instructions for weaving on a 4-shaft or 8-shaft loom, including a suggested color order. Well, I decided to go off course immediately and put the colors in a different order. I asked for feedback from the 4-Shaft Weaving group on Facebook and with their excellent input, finalized on this:


Lunatic Fringe Color Gamp

The order starts in the lower left corner and goes up each column, ending with the upper right corner.

I decided to start with a point twill and entered the colors and design into Fiberworks to see how it would look.


Color Gamp in Fiberworks

You can't see all of the rows in this screenshot, but you get the idea. Pleased with how it looked on screen, I planned the rest of the project in a spreadsheet and the next step was to wind the warp.

It was at this point that I had to stop and find some courage. This project was going to require 922 warp threads and 27 colors in a relatively thin cotton. The width in the reed was going to be over 36". This was easily the largest project I had ever attempted. I took a deep breath (for a few days) and finally go started warping.


Warp chain 3 of 3

After I warped a couple of colors, I revisited my spreadsheet and realized that I didn't calculate enough warp length. So I had to take those colors off the warping board and add an extra yard. At least I found the problem early... it wasn't too painful to fix.


If only it was this easy

The warp chains were so pretty I couldn't wait to dress the loom, but 922 ends was going to take a while. As motivated as I was to get warp the loom, I had to be patient and work carefully so I didn't make any mistakes.

Next up: The Warp

Labels: , , , , ,

Sunday, March 30, 2014

Crackle Sac 2

I finished the second Crackle Sac today. The weaving was actually finished 7 weeks ago. I don't know why I waited so long to sew the lining and put it all together, but it's done now. The 3rd is on the loom with only 2 pattern repeats to go. At this rate, it'll be finished this summer.


Crackle Sac 2
Project details on Ravelry


Labels: , , , , ,

Friday, January 10, 2014

The Crackle Sac

I love how that sounds, "The Crackle Sac".

So what is a Crackle Sac? It's what I call this little ditty:

Crackle Sac
Crackle Sac

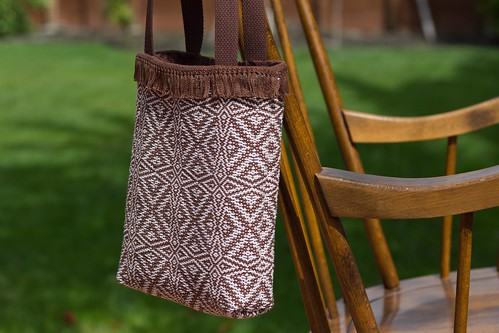
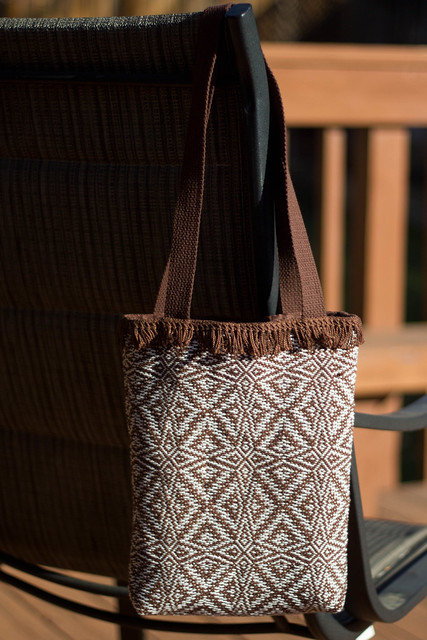
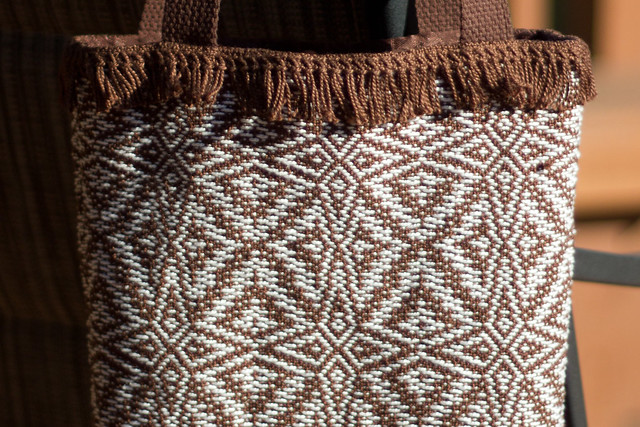
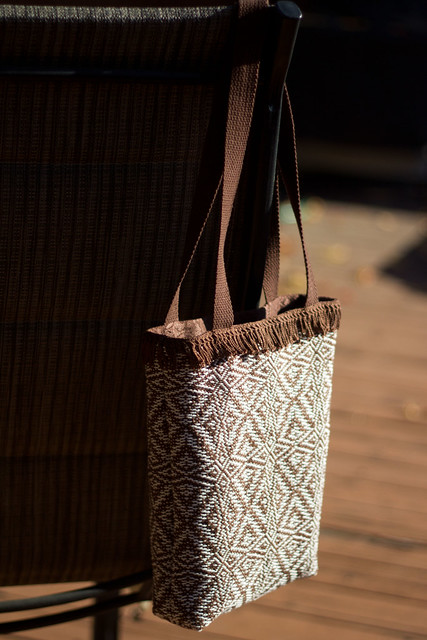
The bag is 5/2 cotton from WEBS woven in a pseudo crackle weave. Now, I can't tell you why it's pseudo crackle and not real crackle, I'm just going by what more experienced weavers tell me.

Crackle Sac

The beginning and end of the fabric was hem stitched, so the fringe is the warp.

Crackle Sac

7 repeats of the pattern created a single woven piece of fabric about 10-1/2” wide and 25-1/4” long after hand washing. I sewed the edges together and boxed the corners.

Crackle Sac

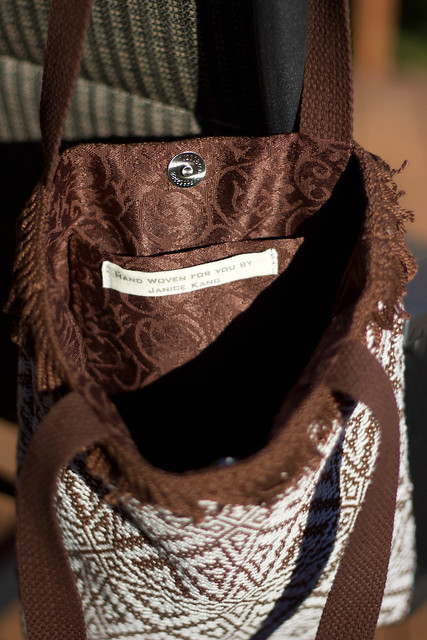
It's fully lined and has a magnetic closure. The label was an afterthought that I printed on my injet printer. Printing that little piece of fabric and finishing the edges was a pain! After that experience, I quickly placed an order for personalized labels. Yeah, I can make intricately designed fabric out of string, but I draw the line at making a label. Everyone has their limits.

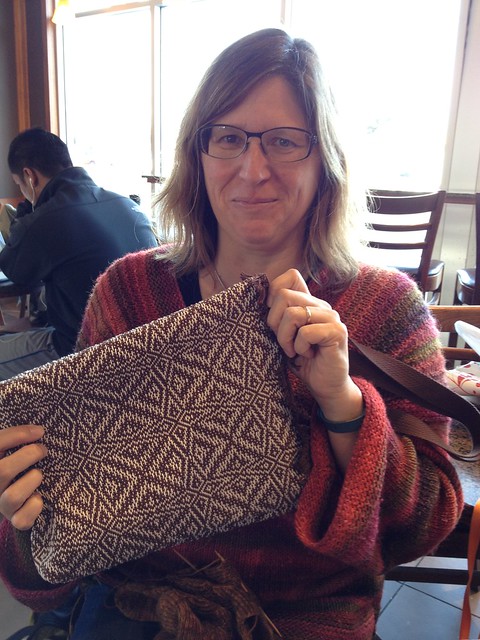
Today I gave the Crackle Sac to my dear friend, Spinnity. She looks pretty happy, don't you think?

She likes it!
She likes it!

Spinnity let me know that it's our 10th Knitting Friend-o-versary. Oh my goodness, 10 years already? Time flies when you're having fun, that's for sure. She also had a gift for me and I'll share that with you in a future blog post.

The Crackle Sac. I'm pleased with how it turned out and am overjoyed that it is with its new owner. Enjoy!

Labels: , , , , , ,

Friday, December 28, 2012

Goose eye and ladders

I started to weave the next set of goose eye towels. The warp and weft are Valley Yarns 8/2 cotton from WEBS.

Goose eye
Goose eye

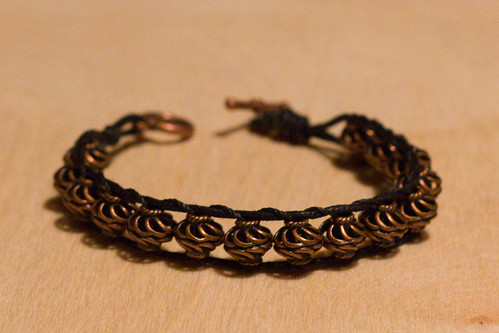
After I wove the stripes, I switched gears and made a ladder bracelet. Being able to start and finish a piece in one sitting is a new experience and it's very rewarding.

Ladder bracelet
Ladder bracelet

Labels: , , , , , ,

Sunday, November 04, 2012

The end of the warp

How wonderful to look through the reed and see the end of the warp approaching the heddles.

1-2-3-2 Stripes
1-2-3-2 Stripes
Project details on Ravelry


The 1-2-3-2 Stripes fabric is finished, all 4 yards of it. Whew! I hemstitched this end, then went back to the beginning and hemstitched it, because I forgot to when I started the project.

This fabric will be cushions for a rocking chair. It's essentially upholstery fabric, so I wasn't planning on washing it before I cut and sewed it. What do you think? Will that be okay or do you think it would be better if I put it through a gentle cycle in the washer & dryer? It's 100% cotton.

Regardless, I'm counting it as a FO now.

Labels: , , , , , ,

Sunday, February 12, 2012

Plan B for 1-2-3-2

My next weaving project was going to be Krokbragd fabric. Krokbragd is a 3-shaft weft-faced weave structure from Scandinavia. The threading and treadling pattern is always the same, so the patterning is achieved by changing weft color, similar to stranded knitting.

Here's a site with examples of Krokbragd--check out the sheep in the 3rd photo from the top. Amazing!

I thought that the firm fabric would be perfect to make new cushions for my rocking chair. Well, I worked out the project dimensions and warped the loom. However, when I started weaving I could not get the weft threads to pack down the way they needed to for the weave structure. I posted a question on the newly formed FB group for 4-shaft weavers and they confirmed that a thinner weft yarn would be more appropriate.

Darn it.

My loom was committed to a 1-2-3-2 threading. I turned to the internet. I did a search on Handweaving.net and in no time I had a handful of drafts for the same threading.

After a little sampling, I had my Plan B.

www.Handweaving.net Draft #45336 4 sur 8, Planche A, No. 73, P. Falcot: Traité Encyclopedique et Méthodique de la Fabrication Des Tissus, ca 1844, France, 3 shafts, 3 treadles
www.Handweaving.net Draft #45336 4 sur 8, Planche A, No. 73
P. Falcot: Traité Encyclopedique et Méthodique de la Fabrication Des Tissus, ca 1844, France


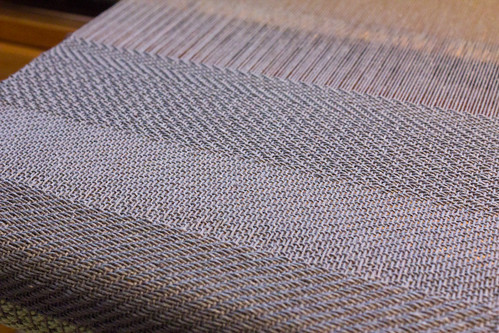
The actual woven fabric below doesn't show the pattern as clearly as the draft because of the carpet warp vs. the worsted weft, but I really like the texture.

1-2-3-2 stripes
1-2-3-2 stripes
Project details on Ravelry

Thank goodness for Draft Search on Handweaving.net. Sure, I could have looked in my weaving books, but the site allowed me to search over 50 books/collections of drafts very quickly.

Labels: , , ,

Wednesday, December 28, 2011

Last FOs of the year

I don't think I'm going to finish another project before Sunday, so here are my last FOs of 2011:

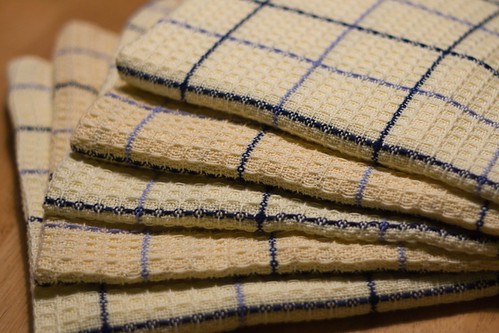
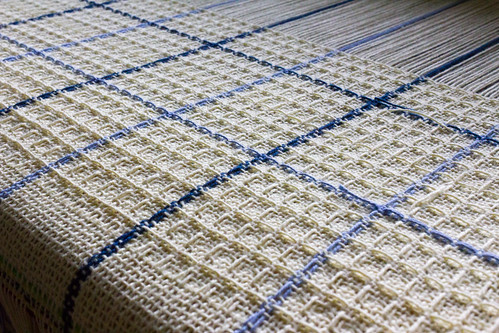
Waffle Weave towels
Honeycomb towels
Project details on Ravelry


I ran out of pale yellow 8/2 cotton, so I finished the last 2 towels in 8/2 cotton/linen. Those are the darker towels in the photo. They're hemmed, but not washed. Waffle weave should really be washed to finish and shrink the fabric, but I wanted to capture this moment just in case they don't look pretty after they're laundered.

The Gilmore is empty and ready for another project. I know what I'm going to make next, but I need to spend some time planning before I start warping.

Labels: , , , , ,

Thursday, March 17, 2011

Waffles, hold the syrup

The new-to-me Gilmore loom continues to draw attention away from other projects. This may become a problem as a deadline approaches, but for now I'm marveling at the seemingly endless variety of weaving possibilities.

I bought 3 cones of Valley Yarns 8/2 Cotton a while ago in anticipation of weaving. There's nothing like advanced planning, huh? But if I remember correctly the yarn was on sale, so it's not like I didn't have a pressing reason to buy it 19 months before I took delivery on the floor loom. Oh but wait, I did have Dorothy. Yeah, that's it. I was going to weave it on Dorothy.

Anyway, I'm not feeling very confident with substituting yarns in weaving projects right now so I searched for a pattern that called for 8/2 cotton and found the Honeycomb Dish Cloth. After a bit of figuring, I worked out what size I could make, how many, and all that good stuff.

Measuring out the warp took quite a while because I needed 436 ends with color changes. I also read the draft wrong so I started out with the wrong number of ends for the first color, but that was easily fixed with the an extra warp chain.

I have to admit, after the difficult time I had sleying the chenille I was reluctant to get going on 4x more ends of thin cotton. But I finally mustered up the courage and got started. I needed 18 dpi in a 12 dpi reed so the sequence was 1-2-2. No major disasters with this step, it all went smoothly but sleying is hard on the body. Taking breaks and stretching helped.

The next step was to thread the heddles. I counted the heddles I needed before I got started (see? I'm learning) and then proceeded to transfer the cross to the other side of the reed. I know, it all sounds like Greek doesn't it? Basically it's a step to help me keep the warp strands in order. If I had one strand per dent I wouldn't have had to do this, but since I had 2 strands in some of the dents I wanted to be able to tell what order those 2 strands should be in. (That explanation probably didn't help at all, did it?) I used Madelyn van der Hoogt's Warping Your Loom DVD method to transfer the cross which made threading the heddles much cleaner.

I had a couple of "oops" during warping. Some how one of the warp chains was mucked up so it wouldn't unravel. It was a warp chain that only had 30 ends in it, so I manually undid the chain and it wasn't a big deal--I must have pulled the end of the chain through the live loop like a bind off. Oops.

Also, I crossed 2 threads in the reed. Oops. It was apparent when opening the first shed so that was easy to fix.

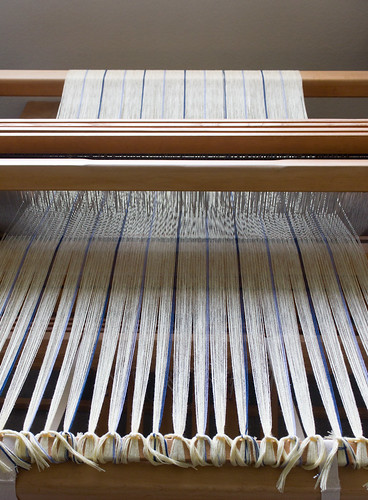
The loom was finally warped and ready for weaving.


Warped

Now I'm treadling and throwing the shuttle and the waffles are forming. It's magic!


Honeycomb Dish Cloth
Free pattern
Ravelry link


About the other project--the one that shall not be named--it's off the loom and stuffed in a bag. It didn't turn out as I expected so I'll blog about it when its time-out is over.

Labels: , , ,

Sunday, February 27, 2011

New loom, new project, and lessons learned

My first project on the Gilmore is a chenille scarf. From what I read about weaving with chenille, it needs to be woven tightly to reduce the chances of worming*. I decided to go with a sett of 20 epi and a plain weave.


Chenille warp

I'm using Madelyn van der Hoogt's warping method from her Warping Your Loom DVD and if I had followed her instructions instead of trying to do my own thing (sigh), I'm convinced I wouldn't have had any issues. Instead I strayed off the tried and true path and had a "learning experience."

Where I went wrong was rather than sleying the reed at a table as the video shows, I tried sleying it at the loom. That was not a good idea. Even though I had lease sticks securing the cross, I left very short ends to work with (another mistake) and the chenille got charged with static. Between trying to hold everything and reaching around the reed with the threading tool, the cross became less and less obvious and I got frustrated.

I was worried that if I continued with what I was doing I'd have a royal tangle on my hands that I might not be able to correct. I stopped.

With the lease sticks and cross in my left hand and the warp chain under my left arm, I unscrewed the beater bar with my right hand (easier said than done) and carried the whole mess, reed and all, to a table to do what was demonstrated in the video. By then the cross, although still intact, was even more difficult to see. It took quite a while to straighten things out and eventually the reed was sleyed.

The warp was only 4 yds long and I hoped that the front-to-back warping method would allow me to straighten out any order issues while still winding on a tight warp. In spite of the strands that wanted to fly away because of the static and the rest that wanted to cling together because of the sticky quality of chenille, I ended up with a well-ordered, nicely tensioned warp. Thank you Madelyn, your method saved me from myself.

Lessons learned:

  • Put the cross farther in from the end on the warping board until I'm more comfortable picking up individual strands from the cross.

  • Sley the reed at a table. It's easier and more comfortable than sleying at the loom.

  • Tie the choke farther from the cross so there's more length to work with when the choke is tied to the front beam.

  • Follow instructions until I know what I'm doing.

Here it is, my first WIP on the Gilmore.


Chenille scarf
Project details on Ravelry


*Chenille is notorious for having twists of yarn that resemble worms pop up in a finished fabric. Worming can occur in knit or woven chenille.

Labels: , , , ,

Wednesday, February 23, 2011

It was my plan all along

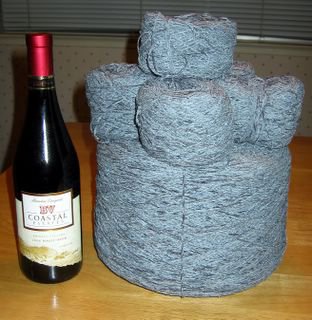
A little over 5 years ago I helped out a friend who was destashing a large cone and some wound balls of chenille--we're talking 4-1/2 pounds of chenille. I gave away the wound balls, but kept the cone and now I'm thinking it'll be a good match for the Gilmore.


I'd like to make a scarf and use the chenille for both warp and weft. Measurements put this this stuff at 1750 yds per pound.

I understand that I'll need a fairly tight weave to prevent worming and a simple weave structure to reduce the float length. Tabby is fine with me.

It seems like the reed might rub off the fuzziness of the yarn and weaken it, but maybe I just need to try it to see if it's a problem.

Are there other things I should consider? Any words of wisdom would be greatly appreciated.

Labels: , ,

Tuesday, February 22, 2011

Twills

Sample weaving on the Gilmore--


Twills

Labels: , , ,

It's here and it's beautiful

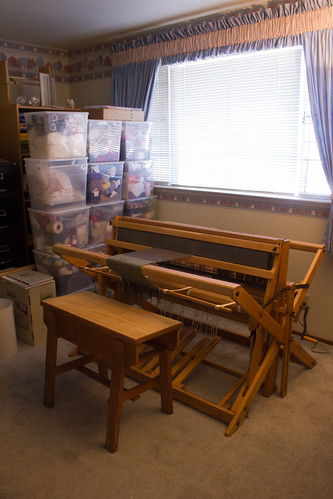
It's a 46" Gilmore loom, refinished and refurbished. I'm very excited!

Hey Margot, here it is in its new home--it fits!


New-to-me loom


The view from here


Ready to weave

Labels: , , ,

Saturday, August 21, 2010

The Kessenich

Margot saw a post on Ravelry, "floor loom for give away." The owner needed to get rid of the loom in a hurry and was basically looking for someone to take it away. She called, got the details, then contacted me right away.

This morning we drove up the peninsula, met the owner, and now look what's in my garage:

Kessenich
Kessenich

Overall it's in good working condition, it just needs a few parts. Thankfully Kessenich Looms is still in business.

I can't believe how fast that happened, thanks for looking out for me Margot!

Labels: , ,

Monday, August 31, 2009

A new tag: weaving

New to me.


Leclerc Dorothy table loom

I purchased this loom from Bobbin's Nest--Erin's mother is a weaver and was ready to part with her 15" Dorothy.

Other than weaving when I was a kid, I haven't done much of it. I had a plastic rigid heddle loom and my dad and I made an Inkle loom (I didn't even know it had a name until I started doing research about weaving last weekend).

Weaving is a whole new world: heddle, shafts, epi, sett, beater, reed, dent, choke, sleying. They sound like words from a Harry Potter book.

As much as I enjoy figuring things out on my own, I'd like to get started on the right foot and learn the basics from an experienced weaver. So starting next Wednesday I'll be taking the Beginning Weaving class from Hannelore at Custom Handweavers. Yay learning!

Here are just a few sites I've found helpful and my list of bookmarks continues to grow.

Leclerc
Weaving Terms [PDF]
Handwoven Magazine master yarn chart [PDF]
Handweavers Guild of America
Hand Weaving and Draft Archive
Warping board plans

Labels: , ,